Installing Letsencrypt With Certbot
An easier way to hook up custom (free) HTTPS to your website.
Letsencrypt now has a plethora of clients available to help you make it as painless as possible to install free SSL(TLS) certificates on all of your websites. That is, there is really no good reason why your website doesn't have https now. Do eet!
Getting Started
![]()
The first thing you'll want to do is install one of the Letsencrypt clients on your server system. Here, I'm using Certbot (by EFF) on Ubuntu 14.04 (trusty) with nginx 1.10 and openssl 1.0.1f. Certbot has great guides on how to install it on many different systems. Check out its site for more details.
Because I'm on Ubuntu 14.04 and it doesn't come with the Certbot package, I need
to install the certbot-auto script. On newer systems (e.g., Ubuntu 16)
Certbot comes in an easily installable package (e.g., apt-get install letsencrypt).
But for me on my slightly older system, I do this:
$ wget https://dl.eff.org/certbot-auto
$ chmod a+x certbot-auto
I just put this in my home directory, but feel free to put this wherever you like.
Get New Certs
Next, run the script with the necessary options. On my server, I have
two websites being served by nginx from two independent directories
under /srv/opt. Other common locations might be /var/www/html or /usr/share/nginx/html.
The point is, you need the full path to wherever you store your static
web files so that Certbot can create some temporary files there and
allow the Letsencrypt servers to verify that you do indeed own the
domain(s) for which you're requesting a cert.
I'm going to use the certonly flag along with the webroot plugin.
By using webroot's --webroot-path flag (simply -w for short) you can
specify multiple domains all in one command like this:
$ /path/to/certbot-auto certonly --webroot -w /srv/opt/example -d example.com -d www.example.com -w /srv/opt/otherstuff -d otherstuff.io -d m.otherstuff.ioThis command will get a single cert for example.com, www.example.com,
otherstuff.io, and m.otherstuff.io. It does this by first placing some
temporary files under /srv/opt/example (which your web server
should serve to the the outside world) to prove you control the first two
domains, and then under /srv/opt/otherstuff for the second
pair of domains.
Here is a real-world example I just did on one of my own servers which runs a simple chat app I'm working on along with a separate authentication server:
$ ~/certbot-auto certonly --webroot -w /srv/opt/chat -d chat.robmclarty.com -w /srv/opt/auth -d auth.robmclarty.comWhat you'll see after executing this command is a bunch of stuff
scroll past your screen and finally an interactive session. This will
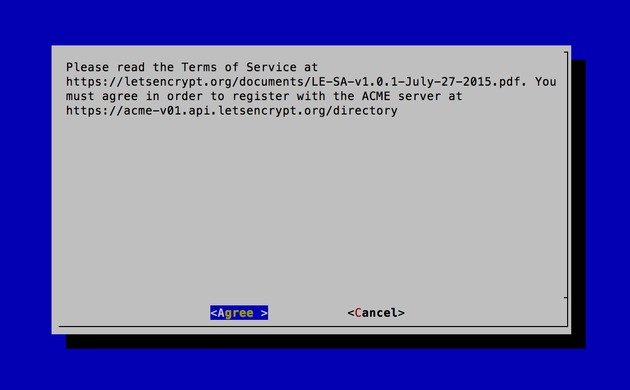
prompt you for an email address (for urgent notices and lost key
recovery) and it will ask you to agree to the Letsencrypt ToS. Once
done, it will install your new cert, and chain, under /etc/letsencrypt
in a folder named for the first domain you used
(e.g., /etc/letsencrypt/live/www.example.com). This cert will contain all of
the domains you specified, so you can use the same cert for each of them.
After obtaining the cert, you will have the following PEM-encoded files all
found under /etc/letsencrypt/live/www.example.com/:
- cert.pem: your domain's certificate
- chain.pem: the Letsencrypt chain certificate
- fullchain.pem:
cert.pemandchain.pemcombined - privkey.pem: your certifcate's private key
What's actually going on is that the cert files themselves are stored under
/etc/letsencrypt/archive (with appropriate permissions) and symbolic links
are created under /etc/letsencrypt/live/www.example.com.
This way, once you've configured your web server to point to these
symbolic links, every time Certbot updates the certs, it will simply
update to where those symbolic links point and your web server will be
none the wiser. Easy.
Since these files are locked down under strict permission settings, your regular user account won't be able to access the directory where they're stored. You can check that the files exist by running this command (substituting in your own domain name):
$ sudo ls -l /etc/letsencrypt/live/www.example.comThe output should show a list of the 4 files described above.
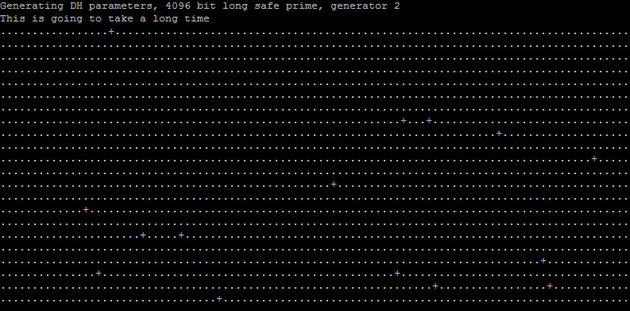
Before configuring your web server, and to further enhance security, it's a good idea to create a strong Diffie-Hellman group. To generate a 2048-bit key, use this command:
$ sudo openssl dhparam -out /etc/ssl/certs/dhparam.pem 2048This will take a while (especially if you want to use something more
than 2048 bits... I like using 4096 bits on all my servers, which takes
like over 20 minutes sometimes, depending on the entropy already on the
system). So grab a coffee and come back later when all the dots are
finished dotting (you'll see). In the end, you'll get a new file located
at /etc/ssl/certs/dhparam.pem.
Configure Your Web Server (Nginx)
Now you can setup your web server for SSL/TLS just as you normally
would, only using the file locations you created above. The 3 files
you're concerned with here are fullchain.pem,
privkey.pem, and dhparam.pem.
I'm not going to go into all the details of configuring Nginx here, but assuming you already have an existing setup, the lines you'll want to modify are as follows:
ssl_certificate /etc/letsencrypt/live/www.example.com/fullchain.pem;
ssl_certificate_key /etc/letsencrypt/live/www.example.com/privkey.pem;
ssl_dhparam /etc/ssl/certs/dhparam.pem;
...and, if you're using ssl_stapling, you'll want to modify this line too:
ssl_trusted_certificate /etc/letsencrypt/live/www.example.com/fullchain.pem;Automated Renewal
You can setup Certbot to automatically renew your certificates before they expire. Letsencrypt certificates only last for 90 days (but it's free, so you can just get new ones whenver you need them). You can do it manually if you want but who wants to remember to log into their server every 90 days and renew their certs when you can just tell the server to do it by itself?
You can test automatic renewal for your certificates by running this command:
$ /path/to/certbot-auto renew --dry-runIf that worked, you can setup a cron or systemd job which runs the following command:
$ /path/to/certbot-auto renew --quiet --no-self-upgradeYou can read more about the details on auto-renewal on EFF's site.
EFF recommends running your cron or systemd job twice per day! Basically the idea is that it won't do anything until your certs are legitimately due for renewal (Letsencrypt just ignores the renewal request if your cert is still good) but this increased frequency ensures that your site has a chance of staying online in case Letsencrypt intiates a revocation for some reason or their servers are unavailable. It is recommended therefore to choose a random minute within the hour for running your renewals (so everyone isn't hammering the server at exactly the top of the hour).
So, if you're using cron, you would first edit the crontab for the root user like this:
$ sudo crontab -eThen add the following lines:
48 3,15 * * * /path/to/certbot-auto renew >> /var/log/letsencrypt-renew.log
53 3,15 * * * /etc/init.d/nginx reload
Note that I'm using randomly chosen minutes as recommended by EFF and
renewing at 3:48am and 3:48pm every day (along with restarting nginx 5
minutes after initiating each renewal to give it some time to complete
before restarting the server). Renewal logs are sent to
/var/log/letsencrypt-renew.log so you can check that it's working (or not).
You can name the log file whatever you like.
That's it. Now you can sleep at night knowing your website is secured for all your users and that it will automatically renew its certs as long as your server is online. Enjoy your pretty new green lock icon beside your domain name :)